
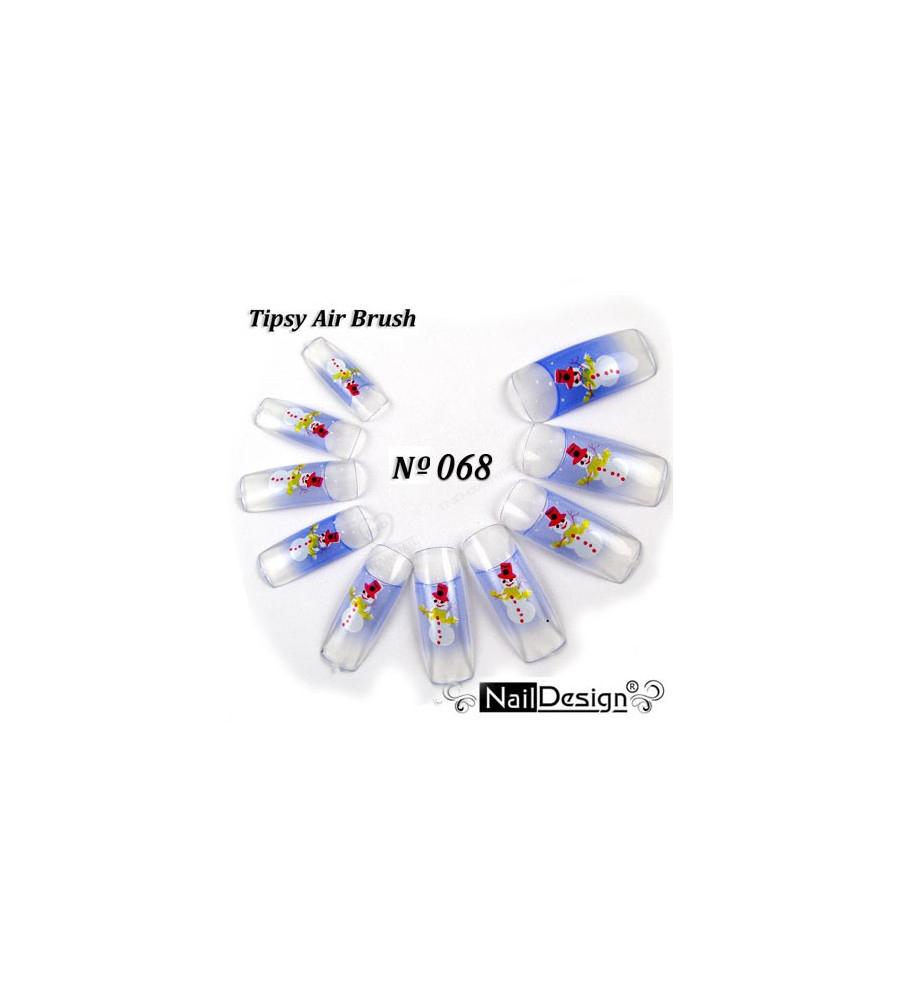
Our natural nail tips are designed with a natural curve,
are easy to apply,
offer long-lasting wear, are flexible,
fits most nail beds and are made with ABS plastic.
You can use them with gels or acrylics to create an ultra-chic and natural look that will boost your income and clientele.
All of which are great reasons to offer these natural nail tips in your salon!
Nail extension with an artificial nail: the step by step guide!
To apply nail extension at home you will need following things:
1. Artificial tips: there are several types of nail tips available in market like white, clear, colored, glitter, with design etc.
These tips are basically made of plastic. Get the one which you prefer (We prefer white or clear tips.)
2. Nail glue
3. nail file, buffer, cuticle pusher and nipper
4. nail tip cutter
To start, first prepare your natural nails; wash your hands, removes any polish or glue or anything with help of acetone.
Step 2:
Push your cuticles back.
Step 3:
Now buff your natural nail lightly so that it doesn’t have any shine and moisture on it.
Step 4:
If your natural nails are long, then cut them and trim the corners for better grip of artificial nails.
Step 5:
Now the important step, choosing an appropriate size of nail tip. This step is important as it will look very bad if you choose a wrong size.
Take time and choose the exact size of tip which matches the c-curve of natural nail bed (from left to right). If the tip is slightly wider, then you can file it down.
Step 6:
Once you choose your tip, apply glue on the hollow part of the tip and apply it on nails. Give it a little pressure to avoid air bubbles. Be careful as the glue is very sticky.
Step 7:
Leave it on for 30 seconds. After that cut the tip a little longer than you desired length with the help of a tip cutter or scissors. (as filing and shaping will make them smaller in length.)
Step 8:
Shape you tips and sides of artificial nail (to make them exact fit on nail bed). Buff them for finish.
Step 9:
Now take your buffer and start buffing lightly where the artificial tip meets the natural nail to make an even surface. Don’t buff on natural nail, try to do it on artificial tip only. Do it slowly so that you can see what you are doing and are not accidently buffing the whole artificial tip at nail bed.
Step 10:
Clean your nail and apply the base. Apply nail polish design; do nail art on the new long nails.
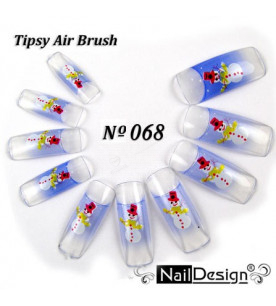
Our natural nail tips are designed with a natural curve,
are easy to apply,
offer long-lasting wear, are flexible,
fits most nail beds and are made with ABS plastic.
You can use them with gels or acrylics to create an ultra-chic and natural look that will boost your income and clientele.
All of which are great reasons to offer these natural nail tips in your salon!